SolusVM is a server management software that manages virtual private servers (VPS) and dedicated servers. As SolusVM is a web-based application, users can access it from anywhere and any device with an internet connection. It is a user-friendly interface and can manage multiple servers from a single interface, which saves time and makes it easy to manage web hosting infrastructure. SolusVM supports a wide range of operating systems. Another feature of SolusVM is its wide range of powerful tools for managing and optimizing server performance. Also, SoluVM includes features like billing and invoicing tools, support for multiple languages, and integration with popular control panels like cPanel and Plesk. SolusVM 2 management server offers a graphical user interface for managing your SolusVM 2 cluster and is used widely by web hosting companies. Some of the additional features of SolusVM 2.0 are:
- Integration with Plesk and cPanel licensing systems to offer cPanel and Plesk-based products.
- Integration with WHMCS billing for prepaid and PAYG offers.
- API first approach.
- KVM, OpenVZ and Virtuozzo support.
- Thin provisioning storage and incremental backups for ThinLVM.
- Predefined launch scenarios from managed WordPress solution to GIT Hosting.
In this article, we will go through the steps for installing and logging in to SolusVM 2.0 Management Server.
Installation of SolusVM 2.0
Prerequisites
- Minimum 4GB memory.
- Minimum 4 cores/8 threads CPU.
- Minimum 10GB SSD space.
Step 1. Access the command line server using ssh. And login to it.
Step 2. Go to the URL below and download the SolusVM 2 installer script.
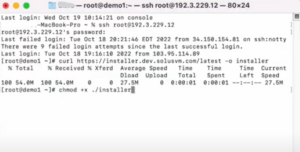
Step 3. Enable the execution mode for the downloaded script using the command:
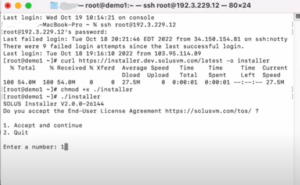
Step 4. Run the installer in the command line:
Step 5. Enter number 1 and accept the end-user license agreement.
Step 6. Provide an email address that will be your SolusVM 2 login.
Step 7. Provide the resolvable hostname or IP address of your management server.
Once the installation is complete, you will see your login, generated password, and login links.
Logging in to SolusVM 2.0
Step 1. Copy the URL provided and paste it into the browser.
Step 2. Copy the username and paste it into the Email.
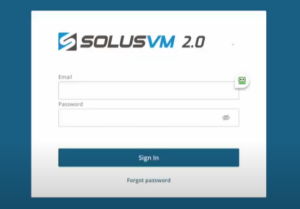
Step 3. Copy the password and paste it into the Password
.Step 4. Click on Sign In.
To log in later, go to:
https://<management-server-hostname>/admin or https://<management-server-IP>/admin.
And provide your email address specified during the installation, then click Log In.
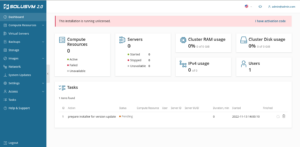
After logging in to SolusVM 2.0, you can see the administrator interface below.
Conclusion
With SolusVM 2.0, you will get all the advantages of SolusVM 1. Also, the licensing model and pricing for SolusVM 2 will remain the same as for SolusVM 1. SolusVM 2 contains the necessary features to launch a VPS-based business from scratch without code writing. SolusVM 2.0 management server will be lightning-fast, on-demand VMs, a simple API, and an easy-to-use self-service control panel.
Xieles Support is here to give you a hand on the latest evolution of VM solution SolusVM2.


