In Jelastic, we have Marketplace which provides a variety of applications that can be installed in one click.
Let us install WP standalone from the Marketplace, it will set up a separate environment.
Step 1. Go to Jelastic.
Step 2. Click Marketplace.
Step 3. Search for WordPress and click WordPress StandAlone.
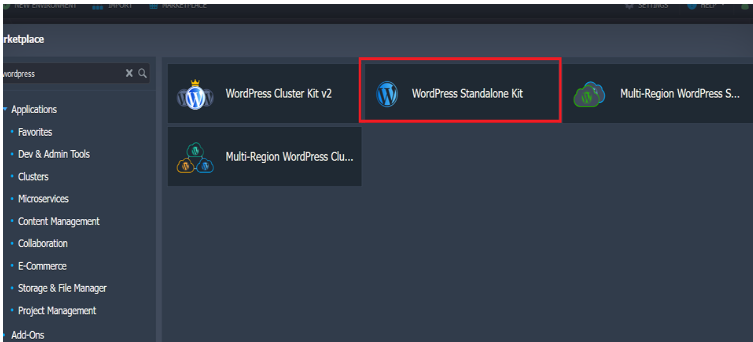
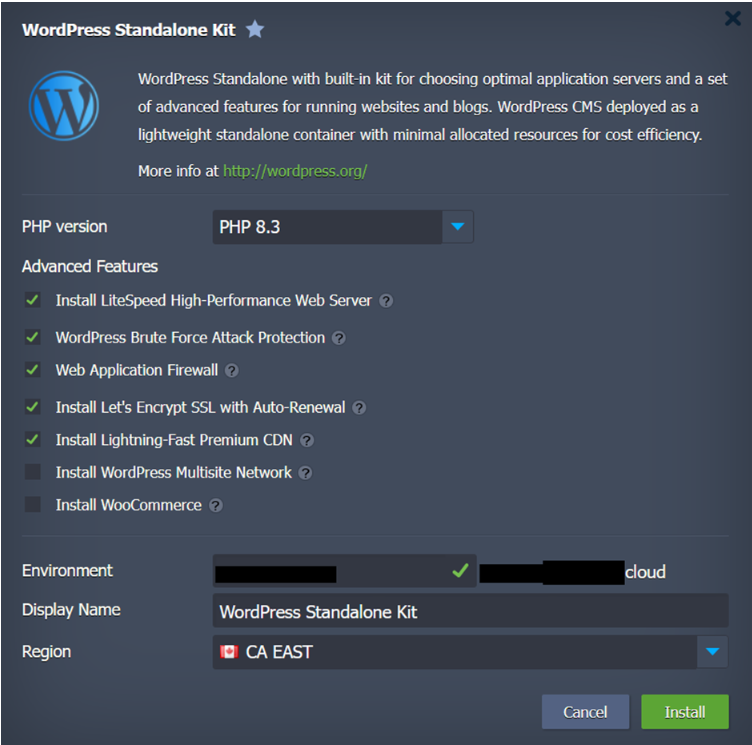
Step 4. Click WordPress Standalone Kit, We will get an initial setup page.
There, you can choose a PHP version and some additional features to select LiteSpeed server, Web Application Firewall, Bruteforce attack protection, SSL, CDN, WP multisite network, and Woocomerce.
We can edit the environment name and choose the region.
The installation will take a few minutes to set up the node. Once it is complete, all the details, including the WP-admin logins, environment URL, and PHPmyAdmin login, will be sent to the registered email address.

The topology of the WordPress environment will look like:
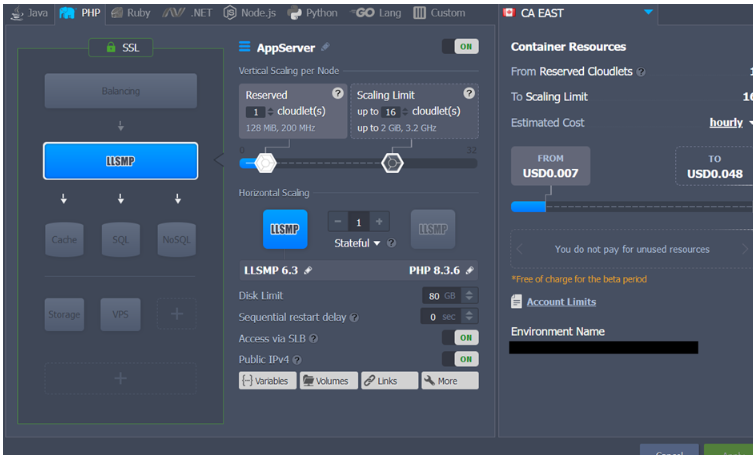
Here, we have SSH access and file access directly from the Jelastic dashboard, so migrating WordPress from the current environment to a new one will be simple.

We can access the website file through “Web SSH” or through the file Manager.
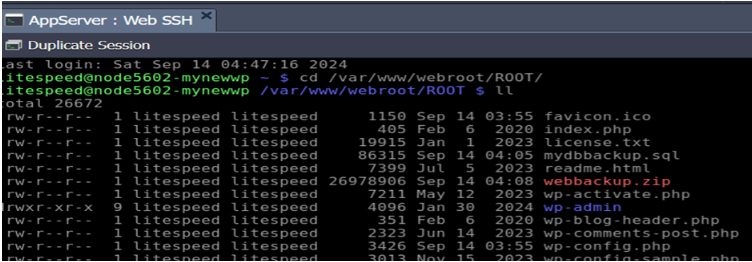
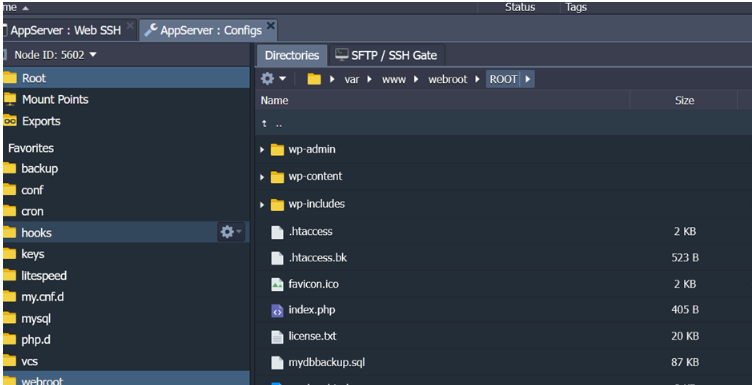
Generating backup :
We can use web SSH to access the website root and compress the website files.
The db backups are generated using PHPMyAdmin
Moving the backup to the new Environment:
Create a new environment.

Choose Apache and Mysql and they will run on their separate node.
The image shows the topology.
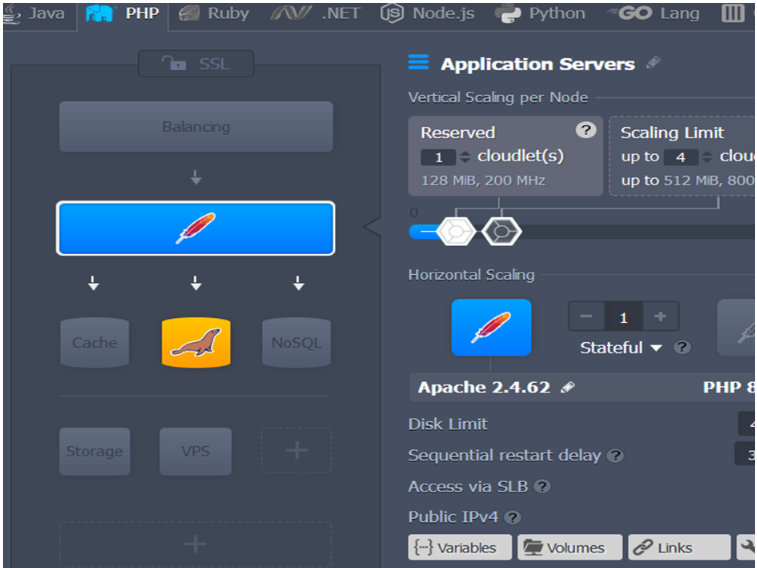
Once the environment is created, all the logins will be sent to the registered email address.
First, upload the backup file to the application server, through web SSH or File Manager, and extract the files in the website root.
NB: here MySQL is running on a separate node, so the necessary configuration should be made in the wp-config file. For example,
Mysql host: node5600-env-6863862.ca-east.yourdomain.cloud
The PHP version can be changed in the topology wizard.
